

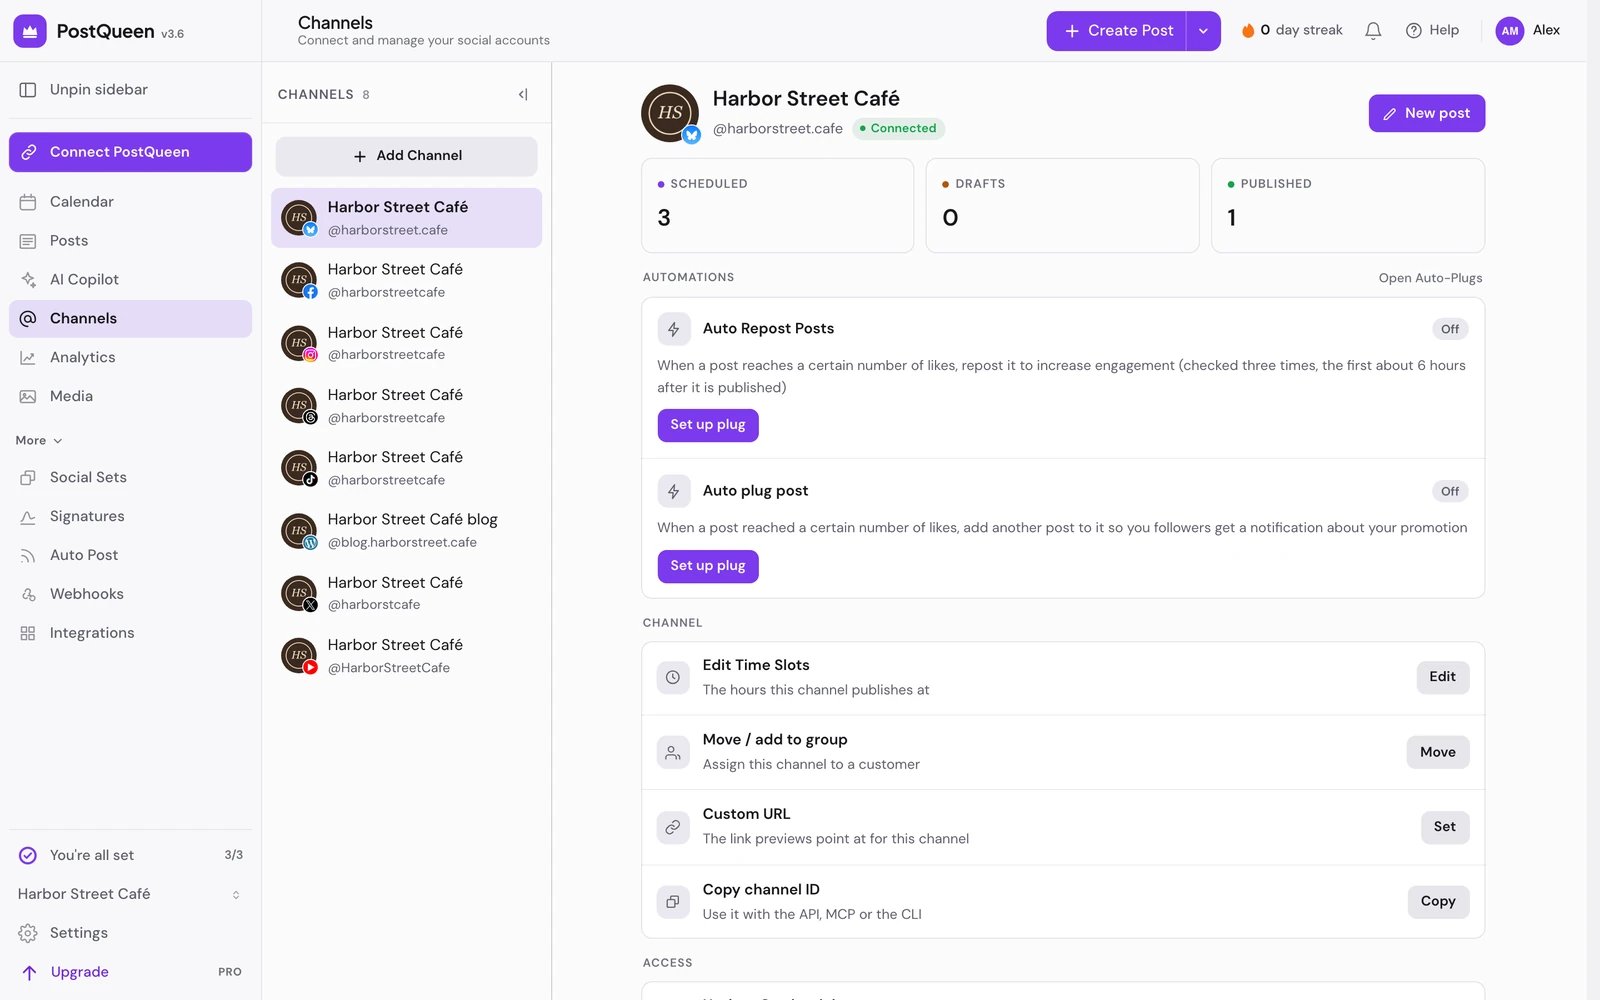
Add a channel
1
Open Add Channel
Open Channels in the left rail and choose Add Channel. With no channels yet, the Add a channel pane opens by itself, and Create Post in the header opens it too.
2
Pick the network
Choosing a network opens a short setup step that says what it needs.
3
Sign in, or enter the details
Most networks show Continue to and the network’s name, which takes you to that network’s own sign-in to approve PostQueen. Networks that connect with a key or password, such as Bluesky, WordPress, DEV and Nostr, show Enter details: fill in the form and choose Connect.
4
Check that it arrived
You land back on Channels with the new channel selected and a Connected badge. If the network asks you to pick a page or account after you sign in, finish that step first.
Let the account owner connect it
When a client owns the account, choose Invite by link instead of Connect myself, pick the network and choose Copy Link. The link works for one hour, and the channel lands in your workspace when the owner finishes. Only networks that sign in on their own page are offered this way.Reconnect a channel
When a network’s sign-in expires or is revoked, the channel shows Needs reconnecting in the list, and its page says “This channel lost its connection and will not publish until you reconnect it.” Choose Reconnect and sign in again. A network that uses a key or password asks for the details again. The channel keeps its posts and time slots.Disable or delete a channel
Both are under Access on the channel’s page.- Disable Channel keeps the channel but stops publishing to it. A post that comes due on a disabled channel fails with “Channel disabled”. Enable Channel turns it back on while your enabled channels are under your plan’s limit.
- Delete channel removes the channel and its posts. The confirm dialog says exactly what goes:
Channel settings
Choose a channel on Channels to open its page. Its settings are rows under Channel and Access:
Some networks add controls above these rows:
- On X, X options holds the publishing option Long posts. Turn it on when the account has X Premium, so the composer allows 4,000 characters instead of 280. Edit opens Publishing options: flip the switch and choose Save.
- Bot name & avatar, under the channel’s name on Slack and Discord, opens Change Bot Picture. On Slack, set the Profile Picture with Upload and the Nickname that your posts show. On Discord, set the bot’s Nickname in your server. Choose Save.
Channel limits
Each plan allows a number of channels; Plans and limits has the numbers. Connecting a new channel counts every channel except those that need reconnecting. Disabled channels count too, so disabling one does not make room. Moving to a plan with fewer channels disables the newest channels over the limit; see Manage your subscription.Good to know
- A renamed channel shows its new name across PostQueen: the channel lists, calendar cards, the posts list, analytics, webhooks, the API, the CLI and your agent. The post preview page you share with clients keeps the network’s name, and so does what is published on the network. The Bot name & avatar form edits the name on the network itself.
- New post on the channel’s page opens Create Post with that channel selected. It is off while the channel needs reconnecting.
- During the free trial, X cannot be connected. Its setup step shows “X unlocks after your trial”, with End free trial to unlock X. See Free trial.
If something goes wrong
A post did not go out covers failed posts in more detail.
Next steps
Create a post
Write once for several channels, then schedule it.
Posting times
The times of day a channel posts at.
Customers
Group channels by client.
All channels
Every network, what it posts and how it connects.