

Upload files
1
Open Media
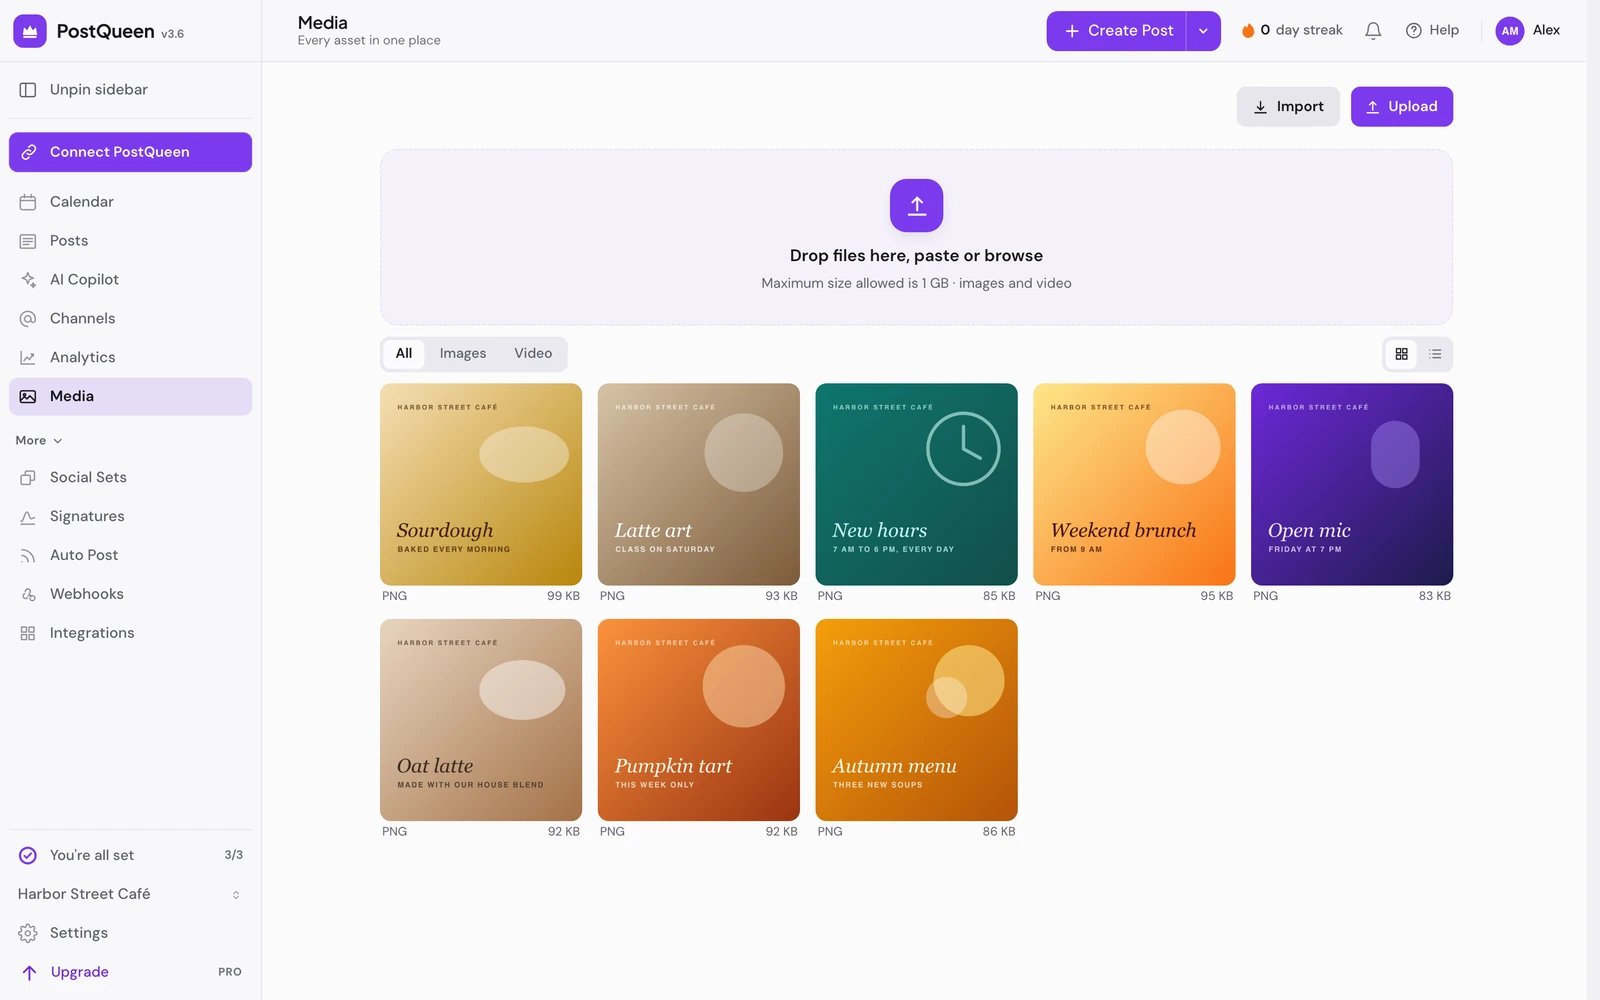
Choose Media in the left rail.
2
Add your files
Drag files onto the page, paste them, or choose Upload. On a computer the drop zone reads “Drop files here, paste or browse”.
3
Wait for the upload to finish
Each file gets a tile that counts up to 100%. Keep the window open until the upload finishes. A video then shows Processing while PostQueen prepares it, and appears in the grid when it is ready.
One upload can be up to 1 GB, counting every file you add at once. Each network sets its own, smaller limits on what it publishes: the network’s page under Channels lists them.
How PostQueen prepares a video
While a video shows Processing, PostQueen checks it. A video that already meets all of these is not re-encoded:- H.264 video in 8-bit 4:2:0 color, and AAC audio or no audio
- At most 1080 pixels on the short side and 1920 on the long side
- At most 60 frames per second
- Upright, with no rotation flag, and not HDR
Find and preview a file
- All, Images and Video filter the library. Grid and List switch the view; the list shows each file’s alt text, format, upload date and size.
- Click a file to preview it.
- Each file has a ⋯ button with Preview, Download, Change alt text and Delete.
- Files are listed newest first, 18 to a page. The Media page has no search box.
Add alt text and a video thumbnail
1
Open the file's settings
On the file, choose ⋯ > Change alt text. In Create Post, hover a file attached to the post and choose Edit instead.
2
Describe the file
Type a description in Alt text. Networks that support alt text show it to screen readers.
3
Pick a thumbnail for a video
For an MP4, choose Create Thumbnail (or Edit Thumbnail), play the video to the frame you want and choose Select This Frame. Clear Thumbnail removes it.
4
Save
Choose Save. PostQueen confirms with “Alt text saved”.
Import from Reel.Farm
Choose Import next to Upload, then Browse on Reel.Farm. Select the videos you want and choose Import Selected. The Import window lists only services you have connected under Settings > Integrations: AI images and media integrations shows how to connect one.Delete a file
Choose ⋯ > Delete on the file and confirm “Are you sure you want to delete the image?”. The file leaves the library, and PostQueen confirms with “Media deleted”.Good to know
- The library belongs to the workspace, so everyone in it sees the same files.
- In Create Post, Insert Media opens this library as a picker. Click files to select them in order, then choose Add selected media. A file already on the post shows a check mark and cannot be added twice.
- An image you generate with AI Image is saved here as well as attached to the post.
If something goes wrong
Next steps
Create a post
Attach files from the library to a post and schedule it.
AI images and video
Generate an image or a video for a post, or connect HeyGen and Reel.Farm.
Channels and their status
The media each network accepts and its limits.
Plans and limits
The monthly AI image and video credits on each plan.