

Save a social set
1
Start a new set
Open Social Sets and choose Add a social set. The composer opens. If you have no channels yet, PostQueen sends you to connect one first.
2
Pick the channels and fill in what repeats
Pick the channels, and add any text, media or channel settings you want every post from this set to start with. Channel tabs stay locked while you build a set (“You can’t edit networks when creating a set”).
3
Name it and save
Choose Save Set, give it a Set Name, then Save.
Add a signature
1
Write it
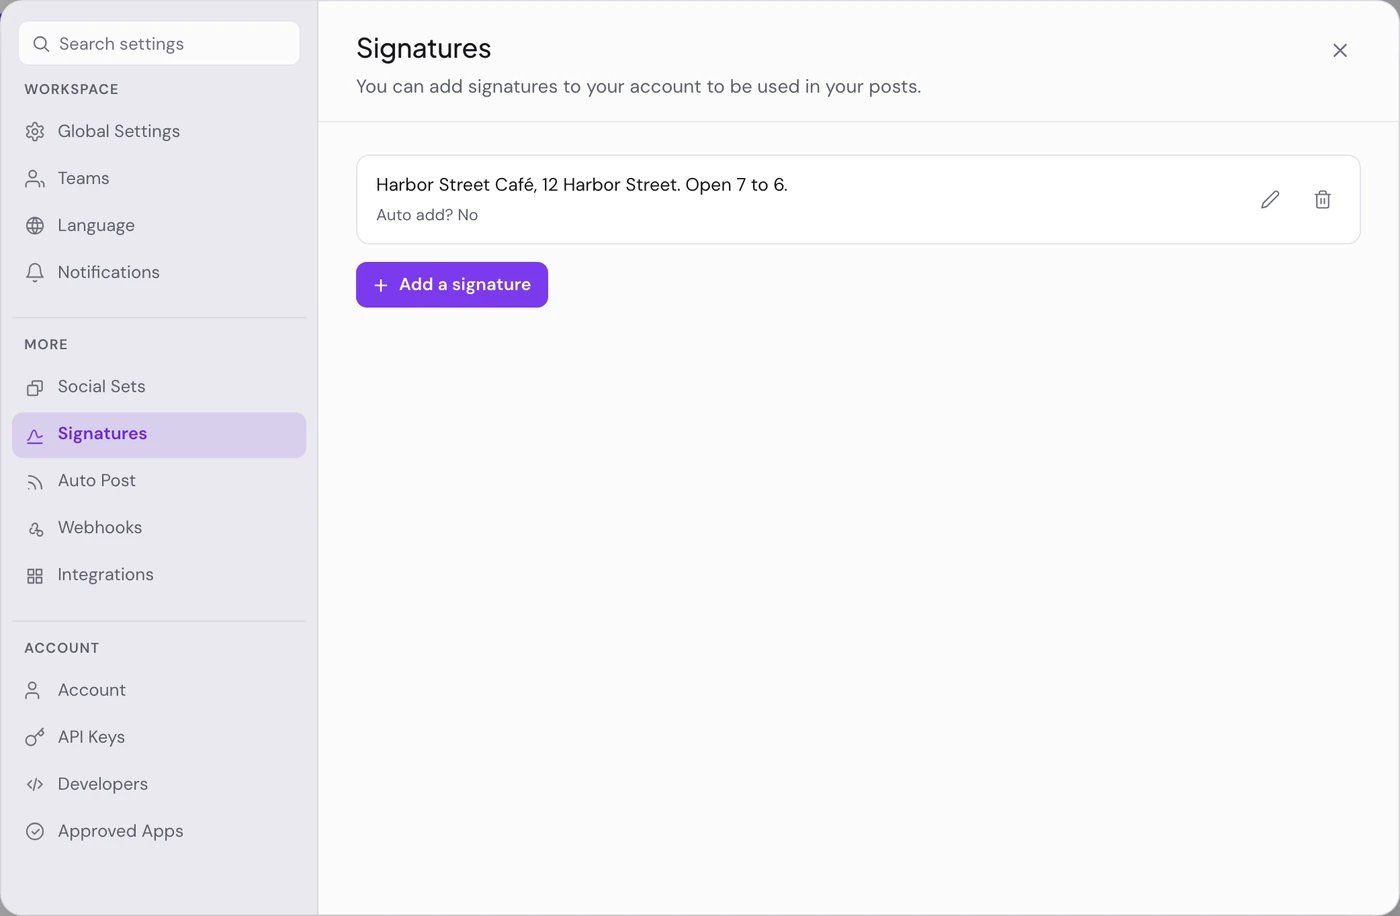
Open Signatures, choose Add a signature, and write the sign-off.
2
Choose whether it is added on its own
Check Auto add signature? to add it to every new post you start, from Create Post at the top or from an empty calendar slot. Only one signature in the workspace can have this on; checking it on one clears it on the others.
3
Save
Choose Save. The list shows each signature with “Auto add?” Yes or No, plus Edit and Delete.
Tag a post
1
Open the tag control
At the bottom of the composer, open the tag control. Empty, it reads Add New Tag.
2
Pick or create tags
Select existing tags, or choose Add New Tag and give the new one a Name and a Tag Color, then Save.
3
Save the post
On the calendar, the post’s stripe takes the color of its first tag.
Good to know
- Sets, signatures and tags belong to the workspace, so everyone in it shares them.
- A tag is a calendar label, not a hashtag. It is never published.
- The tag list has no rename. To delete a tag, open the list and choose the cross next to a tag that is not selected; PostQueen asks first, by name. Deleting it removes it for the whole workspace.
- A set’s content is where each post starts. You can still change anything in the composer before you save.
If something goes wrong
Next steps
Create a post
Start from a set, add a signature, and schedule it.
The calendar
See your tags color the week.
Customers
Group channels by client and filter the calendar by customer.
Settings
Everything else under Settings.