

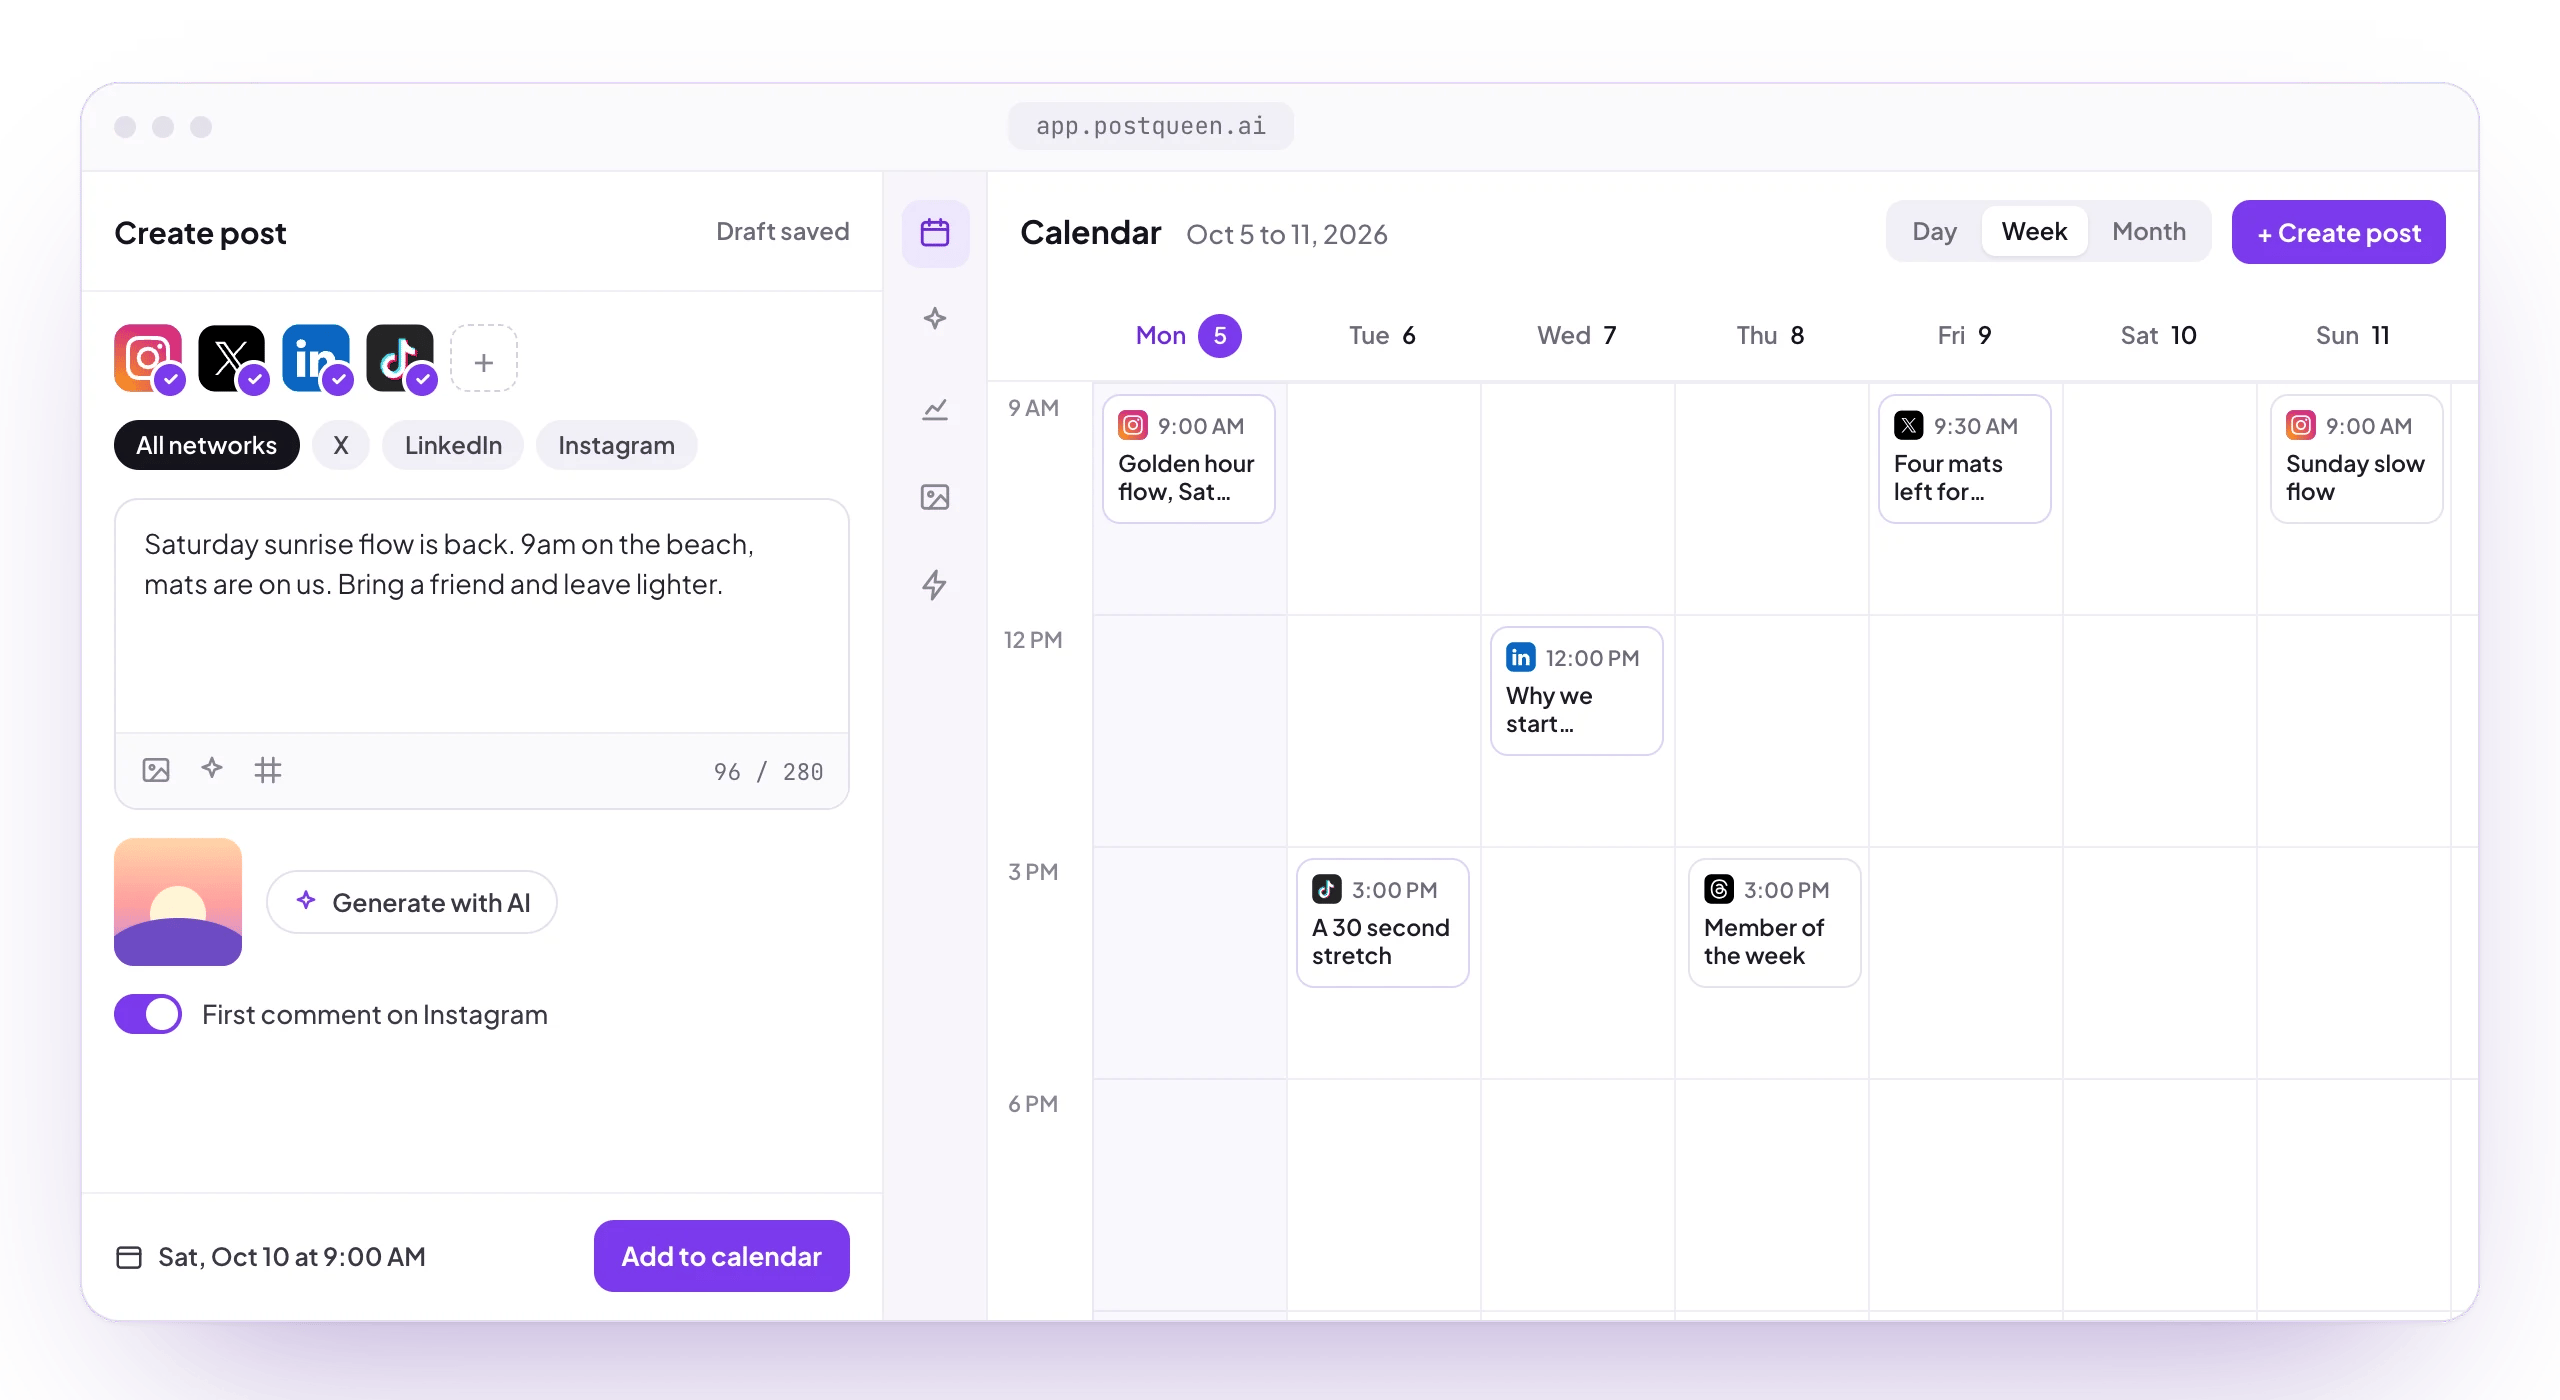
1. Start the free trial
1
Create your account
Open app.postqueen.ai and fill in Email, Password and Organization under Create your account, or sign up with one of the sign-in buttons. Choose Sign up. If PostQueen asks you to activate your account, open the link in the email it sends.
2
Pick a plan
Under Choose a Plan, pick Creator, Growth, Pro or Ultimate, and Monthly or Yearly. Plans and limits compares them.
3
Add a card and start
Enter your card and billing address, then choose Pay $0 Today - Start your free trial! Nothing is charged for 7 days, and you can cancel before then.
During the 7-day free trial, three things stay locked until the paid plan starts: connecting a new X channel, AI videos made with Seedance, and the AI Copilot, on its own page and in the post composer. Image Text Slides videos work during the trial. To unlock the rest now, choose End free trial on the Billing page. The plan starts and is charged at once.
2. Connect your first channel
A channel is one account on a network, such as a Bluesky profile or a WordPress site. All channels shows what each network takes and how to connect it.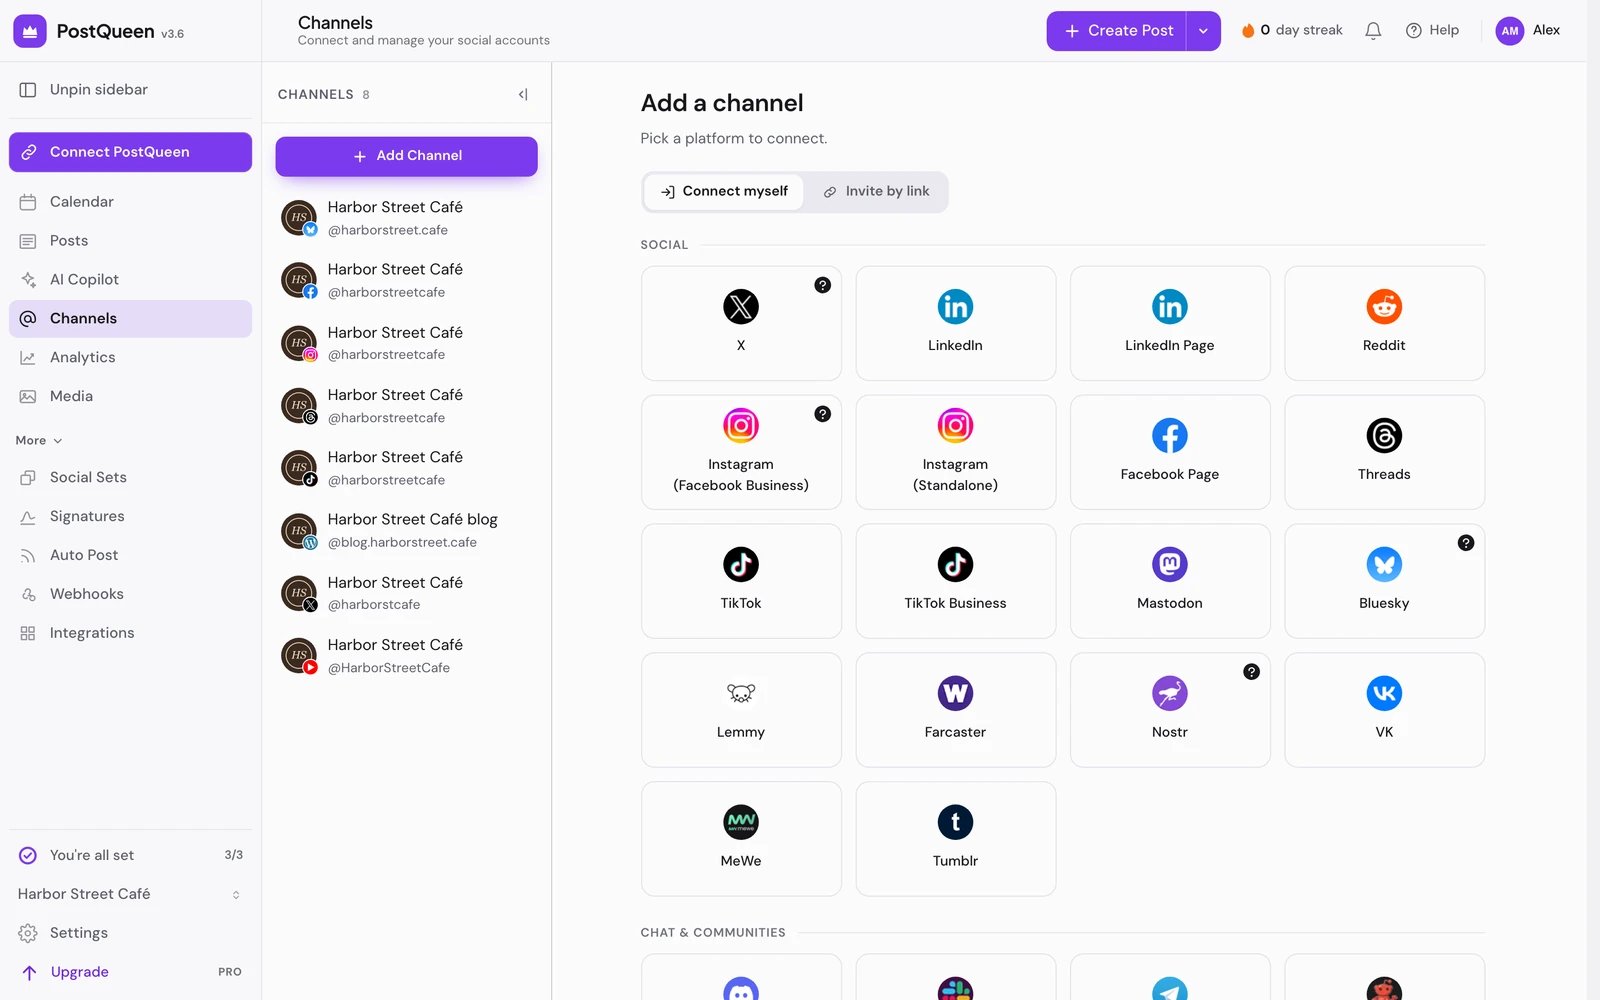
1
Open Add Channel
Choose Channels in the left rail, then Add Channel at the top of the list.
2
Pick the network
Choose its tile. Networks that use their own sign-in page show Continue to followed by the network’s name; networks that need a key or an app password, such as Bluesky, show Enter details. The pane explains what to fill in.
3
Approve and check
Sign in on the network’s page, or fill in the form. You come back to Channels with the new channel selected and marked Connected.
3. Schedule your first post
1
Open the composer
Choose Create Post at the top of any page. It opens on the first free quarter hour, usually one to four hours from now.
2
Pick the channels
Under Select Channels, click the avatars of the channels the post is for. Until you pick one, the main button reads Select Channels and stays disabled.
3
Write the post
Type in the editor. It goes to every channel you picked. Add images or a video from the buttons under the editor if you want them.
4
Set the time and schedule
Change the date and time if you need to, then choose Schedule. A message confirms the time. Save as draft keeps the post without scheduling it, and Post now sits in the menu next to Schedule.
Check that it went out
Open Calendar in the left rail: the post sits at its time. Once it is published, it moves to Posted in the posts panel, and Go to post on the post opens it on the network. If it failed, the post says so, and A post did not go out explains what to do.Next steps
Connect a channel
Add a network, reconnect one, or remove it.
Create a post
Write once for several channels, then schedule it, save a draft or post now.
The calendar
Find, move, preview and share your scheduled posts.
Plans and limits
What each plan includes, and the message you see at each limit.