

Before you start
PostQueen checks every permission it asks for when an account connects. A missing one stops the connect.
Instagram (Facebook Business)
This tile uses the Facebook app. Create it with Facebook setup, then make sure of two things on that app:1
Add the Instagram redirect URI
In Facebook Login for Business > Settings, Valid OAuth Redirect URIs lists
FRONTEND_URL + /integrations/social/instagram, for example https://postqueen.example.com/integrations/social/instagram. The tile sends FRONTEND_URL as it is, so the URI stays plain, http included.2
Check the Instagram permissions
App Review > Permissions and Features lists
instagram_basic, instagram_content_publish, instagram_manage_comments and instagram_manage_insights. The tile also asks for pages_show_list, pages_read_engagement and business_management, which the Facebook setup added.Instagram (Standalone)
1
Create a separate app
Open Create an app in Meta for Developers. Enter the app name and a contact email, choose Other as the use case, then Business as the app type, and choose Create app.
2
Add the Instagram product
In the app dashboard, find Instagram and choose Set up. Meta adds API setup with Instagram login. Do not switch to the Facebook login setup.
3
Copy the Instagram app ID and secret
Open Instagram > API setup with Instagram login and copy the Instagram app ID and the Instagram app secret (choose Show). These are not the App ID and App secret under App settings > Basic.
4
Set up Instagram business login
In 3. Set up Instagram business login, choose Set up and enter the redirect URL, then save. Meta compares it character for character, so check it has no trailing slash added.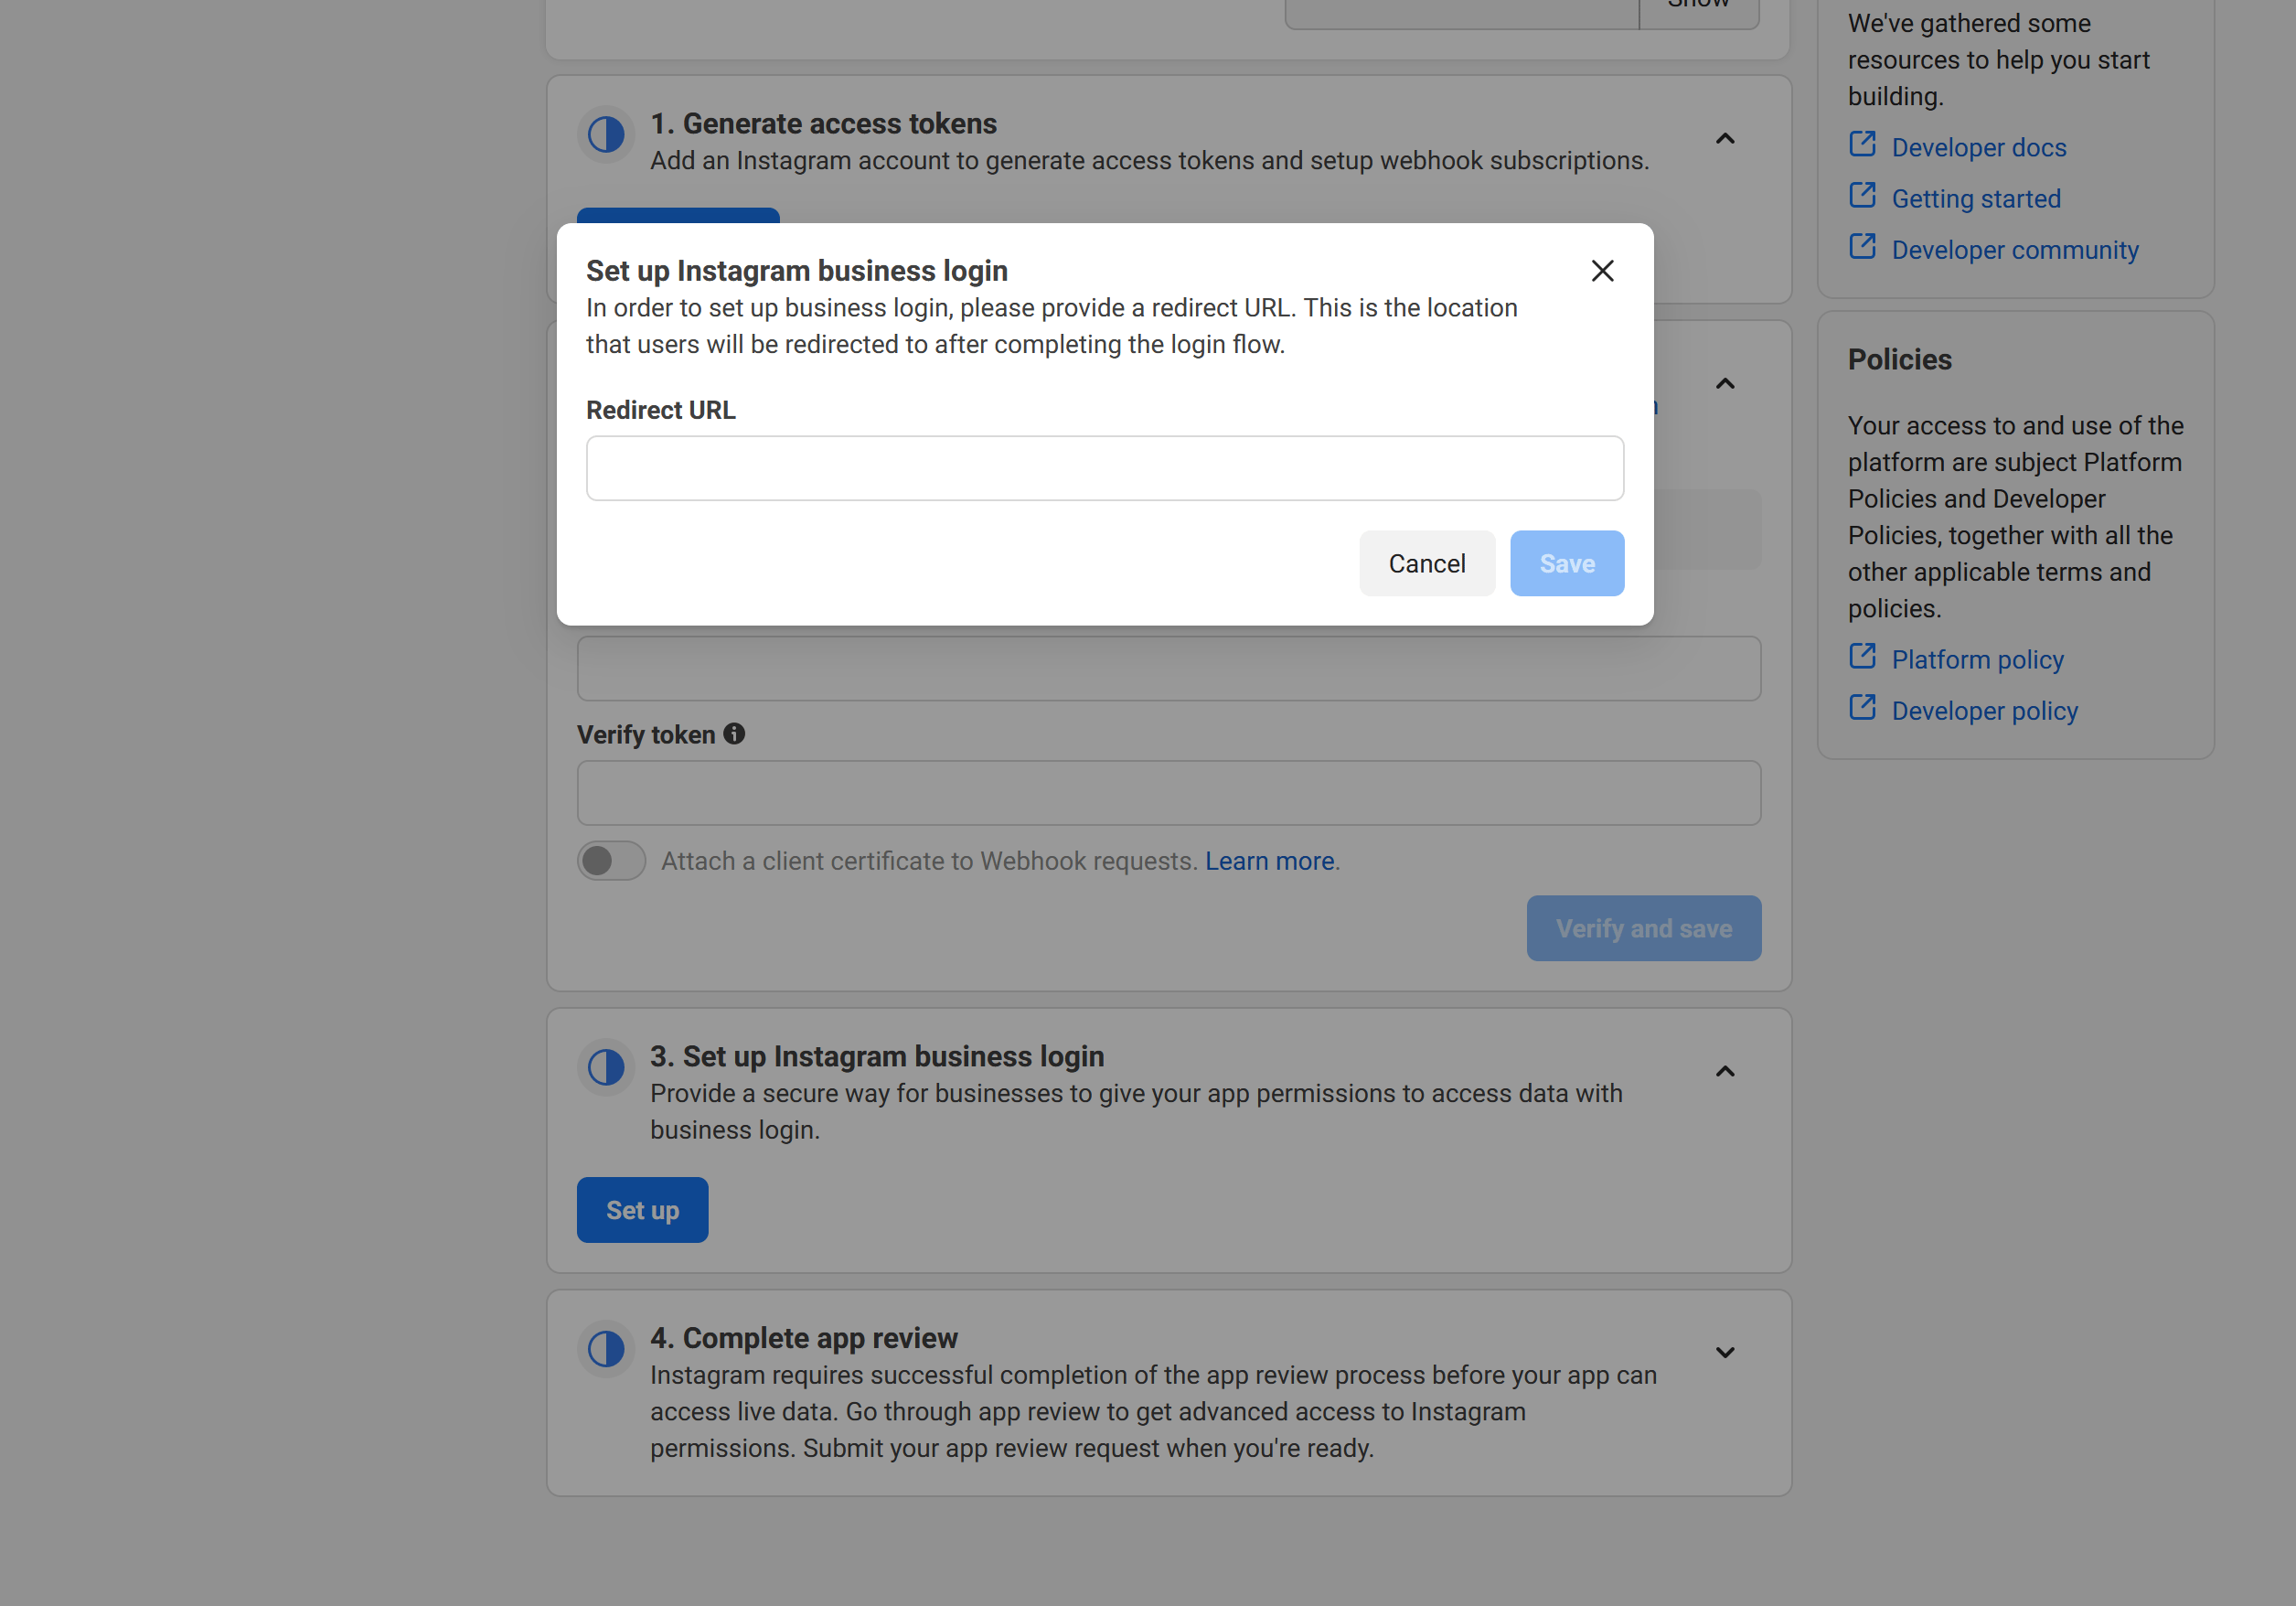
FRONTEND_URL + /integrations/social/ + the network’s identifier, for example
https://postqueen.example.com/integrations/social/pinterest.Most networks need exactly one URI, with no trailing slash. Two exceptions: TikTok Business needs
the trailing slash (/integrations/social/tiktok-business/), and a Google web client that also
serves Google Business Profile lists both /integrations/social/youtube and
/integrations/social/gmb. Channel developer apps lists every
network’s ending.Instagram Login accepts only https redirects. When FRONTEND_URL is plain http, PostQueen sends the callback through https://redirectmeto.com/ first, and that wrapped address is the one to register:5
Set the callback URLs
In the same Business login settings, set:
- Deauthorize callback URL:
NEXT_PUBLIC_BACKEND_URL+/integrations/instagram-standalone/platform-deauthorize - Data deletion request URL:
NEXT_PUBLIC_BACKEND_URL+/integrations/instagram-standalone/platform-deletion
https://postqueen.example.com/api, the first is https://postqueen.example.com/api/integrations/instagram-standalone/platform-deauthorize. Removing the app on Instagram flags that account’s channels for reconnection, and a deletion request deletes them and their posts. Meta only calls a public https address, so skip this step on a local install.6
Check the permissions
PostQueen asks for exactly four:
instagram_business_basic, instagram_business_content_publish, instagram_business_manage_comments and instagram_business_manage_insights. Do not add instagram_business_manage_messages or any pages_* permission to this app.7
Add the Instagram accounts that will connect
While the app is in development, only accounts with a role on it can connect. In 1. Generate access tokens, choose Add account and sign in with each Instagram account, or invite them as Instagram Tester under App roles > Roles. An invited account accepts in Instagram, under Apps and websites.
Set the variables
Add the keys for the tiles you set up:docker restart or
docker compose restart keeps the old container and its old environment.
In the folder that holds docker-compose.yaml, recreate only the postqueen service:
docker compose down for a settings change: on
a host that runs other Compose services in the same project, it stops them too.
Then open PostQueen, go to Channels, choose Add Channel and pick this network. You are
sent to its login to authorize PostQueen, and the channel appears in the Channels list once you
accept.
The channel is in the Channels list with its avatar and name.
Add Channel does not check whether your variables are set. A missing or misspelled key shows
up as a broken authorization page on the network’s side rather than a helpful message in
PostQueen, so if the login page itself looks wrong, check the keys before anything else.
App review
Both apps start in Development mode. Until they are reviewed, only accounts with a role on the app can connect, and posts made in development are visible only to those accounts.- Your own accounts. Standard Access is enough for accounts you own or manage. Switch App Mode to Live so that everyone can see the posts. Meta asks for the display name, a contact email, a privacy policy URL and a terms of service URL in App settings > Basic first.
- Other people’s accounts. Request Advanced Access for each permission and verify your business portfolio. On the Standalone app, start from 4. Complete app review in Instagram > API setup with Instagram login; on the Facebook app, use App Review > Permissions and Features. Meta asks for a description and a screen recording of how the app uses each permission, and for at least one successful API call per permission. Request only the permissions this page lists.
Troubleshooting
Insufficient developer role
Insufficient developer role
The Instagram account has no role on the Standalone app. Add it as in the last Standalone step, accept the invitation in Instagram, and connect again.
Invalid redirect_uri on Instagram's login screen
Invalid redirect_uri on Instagram's login screen
The redirect URL PostQueen sent is not registered, or differs by a trailing slash. On a plain
http install, register the redirectmeto.com address from step 4, not the bare localhost one.Not enough scopes, when choosing a provider, please add all the scopes
Not enough scopes, when choosing a provider, please add all the scopes
A permission was declined on Meta’s screen, or is missing from the app. Check the permissions listed for the tile, then connect again and approve everything.
Invalid Scopes on Facebook's consent screen
Invalid Scopes on Facebook's consent screen
The Facebook app was created through a use case. See Facebook setup: create the app through Other.
We couldn't find any business connected to the selected pages.
We couldn't find any business connected to the selected pages.
On the Facebook Business tile, no Page shared during the login has an Instagram account linked. Link the Instagram account to a Facebook Page, then connect again and share that Page.
Related
- Facebook setup: the app the Facebook Business tile shares.
- Channel developer apps
- Configuration reference
- Self-hosting troubleshooting
- Instagram posting settings